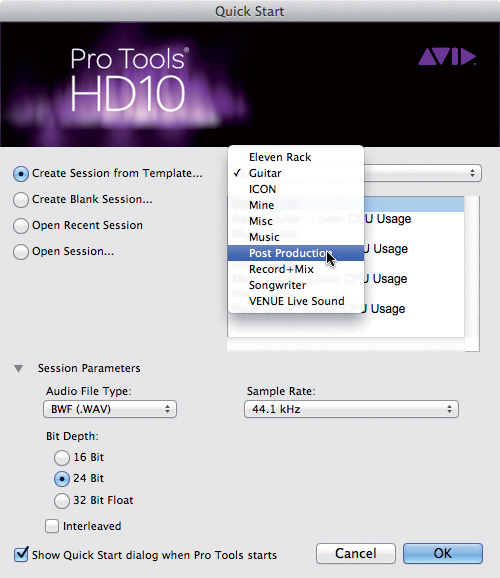
Most DAW software offers some sort of template functionality. These session templates can be major time savers because you can store all of the channels, buses, inputs, outputs, and plug-ins that you use routinely in a session template and create new sessions including all of those assignments in an instant. While most people probably know how session templates work, I want to offer some insight as to how I use templates to streamline workflow and enhance creativity.
In part 1 of this look at templates, we’re going to look at how I use session templates for recording sessions.
Templates for Recording Sessions
I have an extensive, customized session template that I use exclusively for tracking sessions that is specific to our studio’s inputs and outputs. I’ll typically start a session with the full template and then, if less channels or buses are needed, I’ll hide and make inactive any of the spare channels. I do this rather than delete them because I want to have them available quickly in case the producer wants to add more instruments later. When looking at my tracking specific templates, there are a few other key things that I do to increase efficiency.
First, because we prefer to use sampled natural percussion rather than the normal rhythm watch sounds, my primary tracking template includes midi files for my click track. My click track channel has various quarter and eighth note pattern midi files saved to different playlists so that they can be recalled quickly.
Secondly, all of my channels are assigned to mix groups (stereo buses) by instrument type before they go to the Master Bus and Master Output. The stereo buses are where I assign the sends for our headphone distribution system. All sends for our headphone distribution system are assigned pre-fader. This allows me to use the faders on each channel to generate the headphone mix quickly for the performer and, if I want to monitor something differently while tracking, I simply adjust the faders on the mix groups and it does not disturb the headphone mix for the performer.
Third, my tracking template is usually fairly light on plug-ins. Most compression or equalization is being done on the way into the computer, so I don’t need much in terms of plug-ins while tracking. Additionally, any RTAS plug-ins assigned to audio channels will be deactivated anyways when I record enable that channel.
Fourth, if I’m using multiple channels to capture one instrument (for example, drums), I assign all of the drum channels to a group. This allows me to quickly create new playlists for the whole group at once for additional takes.
Finally, if I’m recording an album or working on a group of songs with the same artist, once tracking is done on the first song, I save a customized version of the tracking template as a new session template specific to that project in my template library. This allows me to dial up the same settings that worked for the first track immediately for each new session and saves a lot of setup time.
In Part 2…
I’ll explain how I use separate sessions templates for mixing and songwriting.

