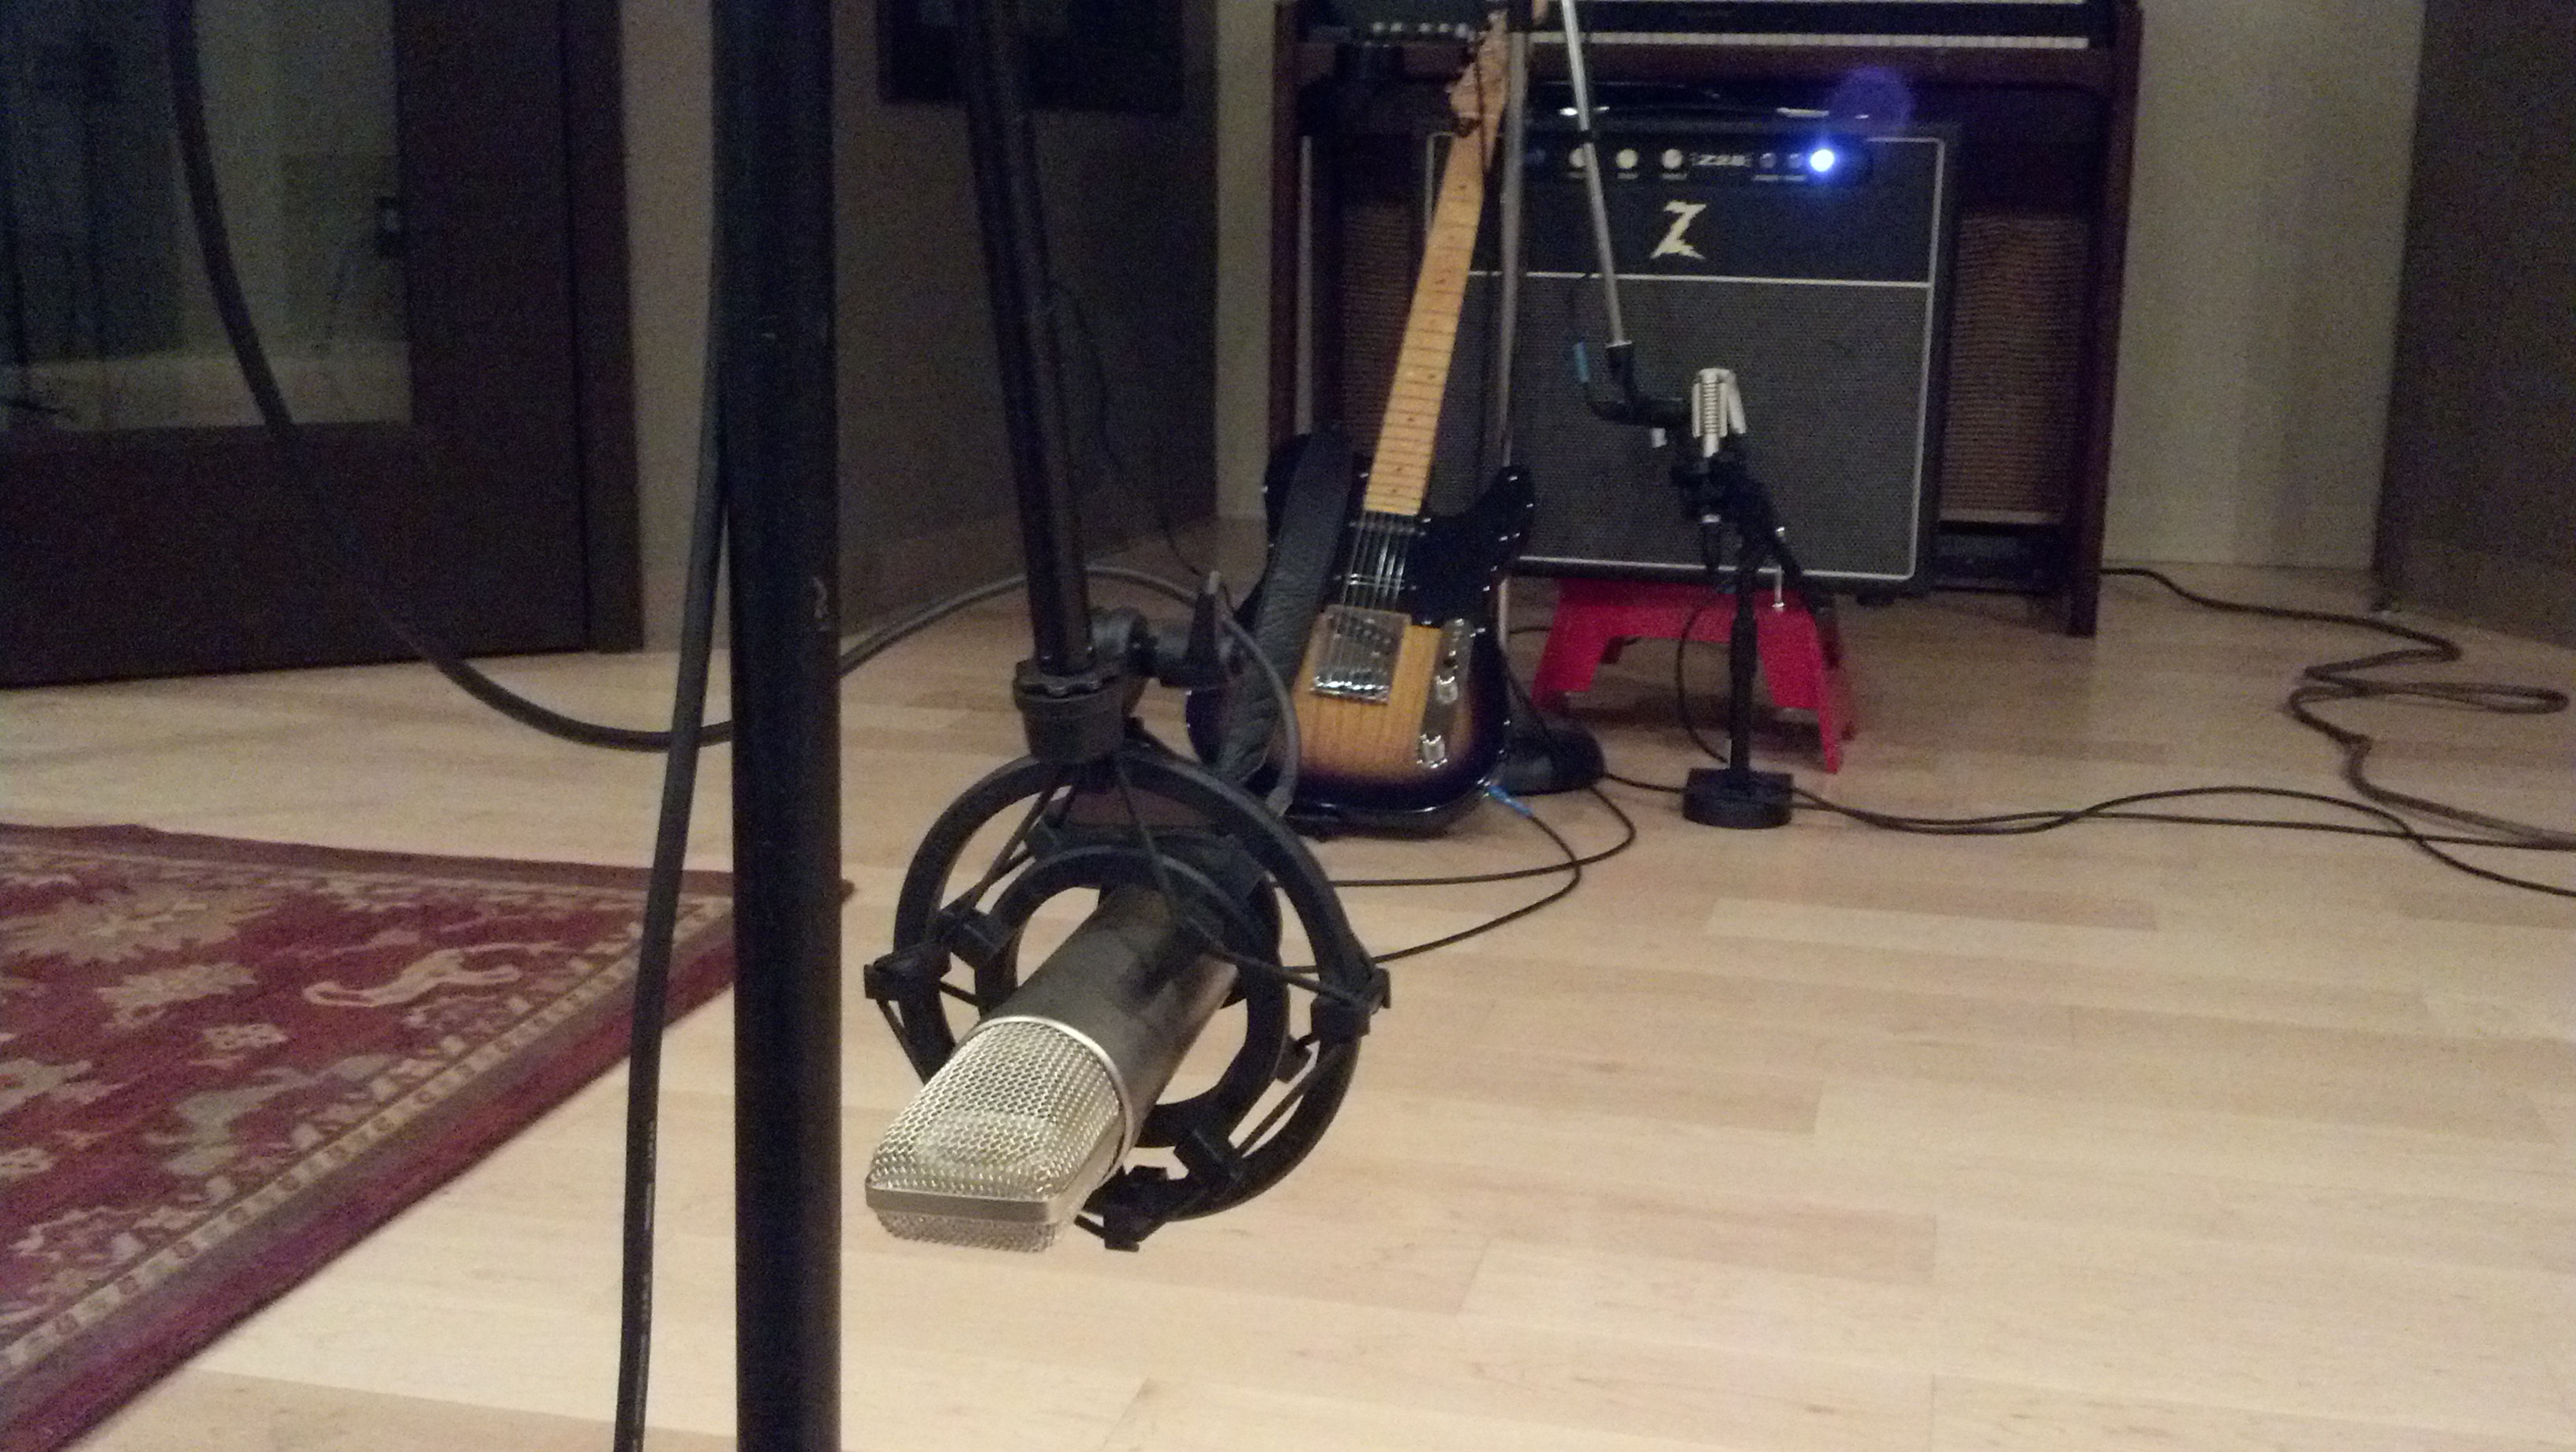
One of the things that I spend a lot of time on before I hit the record button on any project is getting sounds right on the way in. Mixing starts here. I know that it’s a really basic concept, but in this world of massive plug-in libraries, advanced editing techniques, and unlimited processing power, I feel that the focus a lot of the time is on fixing it in the mix. The first step to a good mix is good source material and here are some of the things that I do to assure I’ve got that.
Give Yourself Options
The first thing we’ll do is audition different sources. For example, if the drummer has two different drum kits and we have a third in the studio, we will break down each kit piece by piece and audition all of the different pieces. We’ll try all three kicks. Once we decided which one fits the best for the recording, we’ll audition all three snares. We’ll do the same thing for toms (usually as sets) and cymbals. Once the best sounding pieces have been selected, we’ll listen to the whole kit together to make sure that all of the pieces come together nicely.
This is all done standing in the tracking room before a mic is even put on a stand. Once it sounds right in the room, my job as an engineer becomes much easier. All I have to do is capture that good sound.
Know the True Sound of Your Source
While I’ve been listening to the source in the room, sometimes what you hear in the room can be deceiving. I encounter this often with guitar amps. Due to coupling with floors and proximity effect, sometimes you can get a really fat guitar sound in the room, but when you listen to what’s coming out of the speaker itself, the sound is quite thin.
To avoid this, I’ll make sure I’m listening to the amp, or any source for that matter, in a number of different places in the room. For amps, I’ll make sure I’m right in front of the speaker. I’ll then make adjustments on the amp accordingly. Too thin? I’ll adjust the EQ. Too much gain? Turn it down on the amp. Inline effects too overbearing? I’ll adjust them.
Once all of these adjustments are made, I can start looking at the signal chain.
Experiment with Signal Chains
This is another area where we do a lot of auditioning. For example, when we’re doing a vocal, we’ll record the vocalist singing through each of our different mics to see which mic sounds the best for that vocal part. Once we’ve decided on the mic, we’ll then record that mic through each of our different preamps and record the sound so that we can compare them.
When doing these auditions, it’s easiest to record them and then create a new playlist on the track for each audition, making sure to name the playlist accordingly so I know which mic and preamp was used. This allows you to do direct comparisons in a way that doesn’t have the vocalist stuck in the booth singing the same part over and over and over.
While it’s a basic concept to audition different sources, signal chains, and make adjustments on the way in, it will make the mix process a lot easier on you. It’s also a lot of fun too because it allows you to be creative. In the next installment of this blog, I’ll talk about things I do on the way into the box to further help my mixes. Until next time, go forth and record stuff.


